
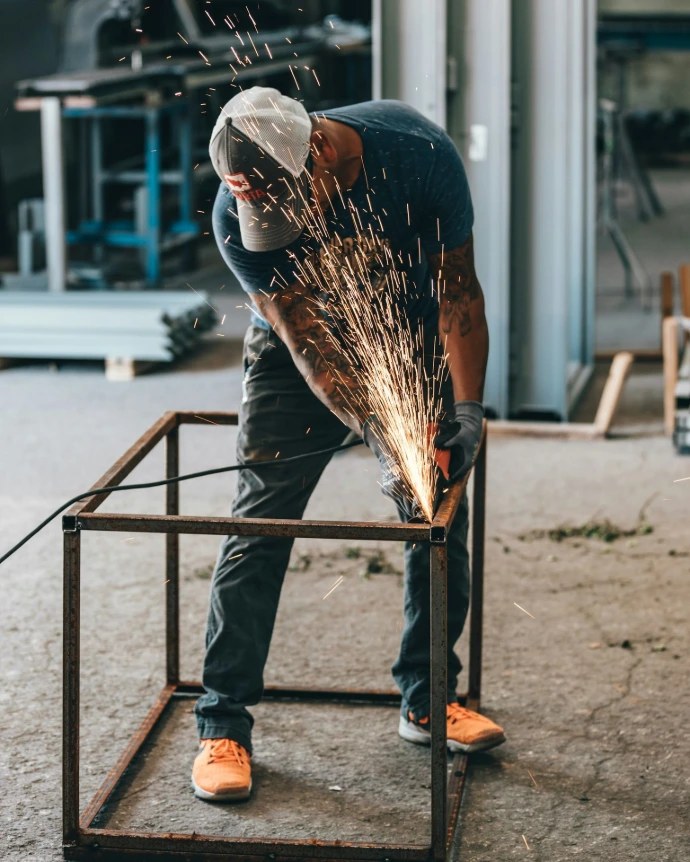
Thin sheet distorts when you weld it because the weld metal shrinks as it cools and drags the surrounding sheet with it. The thinner the sheet and the longer the weld, the more it pulls, which is why a 1.2 mm panel can come off the bench looking like a crisp packet.
You can't remove shrinkage, but you can control where it goes. Most of that control happens on the drawing, before anyone strikes an arc. This post covers why thin sheet moves, why stainless is worse than mild steel, what you can change in the design, and what a shop typically does on the bench.
Why thin sheet moves so much
When a welder runs a bead, a narrow strip of metal gets very hot and expands. The cold metal around it holds it back. As the weld cools, it contracts, and because it's now fused to the sheet, it pulls the sheet inwards.
On thick plate, the surrounding metal is stiff enough to resist most of that pull. On thin sheet, it isn't. So the shrinkage shows up as:
- Bowing along a long seam, like a banana
- Angular distortion, where a corner closes up or opens past 90°
- Oil-canning or buckling in the middle of a flat panel, which pops in and out when you press it
- Shrinkage in overall size, so a frame comes out a millimetre or two short
Any one weld might only move things a little. Twenty welds on one side of a part add up.
Stainless and aluminium move more than mild steel
Material makes a real difference.
| Material | Thermal expansion (approx.) | Heat conduction | Distortion tendency |
|---|---|---|---|
| Mild steel | About 12 µm/m per °C | Moderate | Baseline |
| Austenitic stainless (304, 316) | About 17 µm/m per °C | Low (roughly a third of mild steel) | Higher: heat stays local and expands more |
| Aluminium | Roughly 23–24 µm/m per °C | Very high | High expansion, but heat spreads fast; needs more heat input |
Stainless is the one that catches people out. It expands about 40% more than mild steel and holds the heat in a narrow band around the weld, so the temperature difference across the part is steep. Same design, same weld length, and the stainless version will usually move more.
Design choices that reduce distortion
This is where you, the designer, have the most power. A good shop can't fully rescue a part that's designed to warp.
Weld less
Every millimetre of weld is a millimetre of shrinkage. Ask whether each weld is really needed.
- Use stitch welds (say 25 mm welded, 75 mm gap) instead of continuous runs, unless the joint must be sealed.
- Replace welded corners with bends where you can. A folded box with welded corners has four short welds; a box made from five flat panels has eight long ones.
- Consider whether a joint could be riveted or bolted instead. Our welding vs bolting vs riveting post compares the options.
Add stiffness
A flat, unsupported 1 mm panel distorts badly because nothing holds it. A flange, return, or swage along the edge makes it far stiffer. Even a 10 mm return on a 1 mm panel changes how it behaves under welding heat.
Balance the welds
Shrinkage pulls towards the weld. If all the welds sit on one side of a part, it bends towards that side. Place welds symmetrically about the centre where you can, or on both sides of a joint.
Make the parts locate themselves
Tabs and slots cut into the flat parts let them slot together in the right position before welding. That means better fit-up, smaller gaps, less filler, and less heat. It also reduces how much clamping the shop needs. See tab and slot design for how to size them.
Keep gaps small
A badly fitting joint needs more weld metal to fill, and more weld metal means more shrinkage. Accurate laser-cut and bent parts help here, which is one reason fabrication goes better when cutting and bending happen on the same job.
What happens on the bench
Shops use a toolkit of standard techniques to keep heat under control. These are general industry practices, not a fixed recipe.
- Tack welding in sequence. Tack the ends, then the middle, then the quarter points, so the part is held evenly before any long welds go in.
- Clamping and jigs. Clamping parts to a rigid table or jig while they weld and cool restrains them. Some springback happens when clamps come off, but much less.
- Heat sinks. Copper or aluminium backing bars behind a weld draw heat away and reduce burn-through on thin sheet.
- Backstep and skip welding. Instead of running one long weld from end to end, the welder lays short segments out of order so heat doesn't build in one area.
- Controlled heat input. Lower current, faster travel, and processes with fine heat control. Our post on MIG vs TIG welding explains how process choice affects this.
- Straightening. After welding, some distortion can be corrected by careful heating or mechanical straightening. It costs time, and on visible stainless it can mark the surface, so prevention is better.
Putting realistic tolerances on welded parts
Welding moves metal, so welded assemblies can't hold the same tolerances as a single laser-cut part. A practical approach:
- Mark the two or three dimensions that really matter, such as mounting hole positions or an overall width that has to fit an opening.
- Allow looser tolerances on everything else.
- If holes must line up precisely after welding, consider having them cut slotted, or drilled after welding.
- State flatness only where it matters, and say what it applies to (for example, the front face of a door).
What to tell us on your quote
For a thin welded part, the most useful information is:
- Material and thickness of each part
- Which faces are visible and must stay flat
- Which welds can be stitched and which must be continuous or sealed
- The critical dimensions and where you can allow movement
- The finish afterwards, since grinding and coating also affect the look
Our fabrication service covers welding and assembly, and cutting and bending on the same order. Start a fabrication quote and add your notes in the description.